Getting Your First Rental Ready: A Practical Pre-Listing Check
A calm, practical guide for new landlords on the concrete steps to prepare a first rental property for listing and tenancy.
You’re starting a new chapter: you’ve found a property, you’ve signed the paperwork, and now you need to get it ready for tenants. The concrete question that guides every decision is this: What does a safe, reliable, low-friction home look like for a first tenant? Answering that question helps you set a plan, budget, and schedule that keep you sane and protect your investment.
This post focuses on a single, practical path: turning a property into a ready-to-rent home with solid basics. It’s not legal advice, and it doesn’t replace jurisdiction-specific guidance. It’s a practical lane-by-lane checklist that aims to keep repairs reasonable, safety features in place, and paperwork in order.
What you’ll do before you list
- Clarify your “minimum viable rental.” Start with what a tenant will reasonably expect: secure doors and windows, functional heat and hot water, clean spaces, and a straightforward move-in process. If you wouldn’t feel comfortable living there, fix it first.
- Build a simple budget for pre-list improvements. Prioritize safety, then usability, then cosmetics. A throw-paint refresh, minor fixes, and a few safety tools can make a big difference without breaking the bank.
- Set up essential safety and comfort basics. These are not optional extras here; they’re the baseline that makes the property livable and lowers risk of unintended problems later.
Concrete steps you can take now
- Do a thorough walk-through and note repairs. Create a two-column list: items to fix (with rough cost estimates) and items to document (photos, receipts).
- Check for obvious hazards: smoke and carbon monoxide risks, exposed wiring, and trip hazards. If you find issues you don’t have the tools to address, plan for professional help.
- Inspect plumbing and drainage: test faucets, under-sink pipes, and the main shutoff. Look for leaks or corrosion.
- Examine HVAC and water heating: ensure systems function and replace filters if needed. Consider a basic service if it’s been a while since maintenance.
- Assess the kitchen and baths: ensure functional cabinets, operable faucets, and safe, clean surfaces.
- Prioritize safety equipment and verification tools. Before you list, install or verify: a working smoke alarm on every floor, a functioning carbon monoxide alarm near sleeping areas, and accessible fire escape routes.
- If you don’t already have them, these items are worth the investment for both safety and tenant confidence.
- Check that you have working carbon monoxide detectors where required by common-sense practice even if not legally mandated in your area.
- Tidy, disinfect, and prepare for showings. A well-presented space reduces back-and-forth with prospective tenants and speeds up the process.
- Deep clean every room, paying attention to kitchens and bathrooms.
- Patch small holes, touch up scuffs, and reseal any visibly worn grout or caulk.
- Ensure flooring is clean and safe; address loose boards or soft spots that could alarm a potential renter.
- Decide on what stays versus goes. This helps with future turnover and keeps your management simple.
- Establish a baseline for landlord-provided furnishings or appliances. If you keep items in the unit, ensure they’re in safe, working order.
- Remove personal items and declutter so that tenants can visualize their own belongings in the space.
- Prepare essential documentation and systems for smooth move-in. The goal is a clean handover, with clear expectations.
- Create a simple move-in packet: property address, how to contact you, fire/safety instructions, and basic maintenance steps.
- Prepare a baseline set of house rules and a basic lease outline that you can customize later. Having a starting point reduces surprises during the signing process.
- Set up a process for collecting security deposit and first month’s rent, with a simple record-keeping method.
- Plan for ongoing maintenance. Your first list isn’t the end; it’s the baseline for ongoing care.
- Schedule a warm-weather HVAC check and a winter readiness check if you’re in a climate with seasonal shifts.
- Decide how you’ll handle repairs: set expectations for response times, and plan for reasonable costs to handle common issues.
- Build a simple calendar for routine maintenance (filters, gutter cleaning, seasonal checks). This helps you stay on top of tasks and avoid surprise expenses.
- Budget responsibly for improvements. It’s easy to overestimate the impact of cosmetic changes. Focus on what protects the property and improves safety and livability.
- Safety investments typically yield the best returns: alarms, secure locks, functioning plumbing, and reliable hot water.
- Cosmetic upgrades can be done progressively. If you’re worried about cash flow, prioritize essential repairs first, then plan for touch-ups later.
- Create a straightforward tenant-facing handoff. The moment a tenant steps in, you want to be confident they can live there without extra friction.
- Leave a written summary of the property’s key features, how to operate appliances, and where to find reset codes or emergency shutoffs.
- Provide clear instructions for contacting you and for what constitutes an emergency maintenance request.
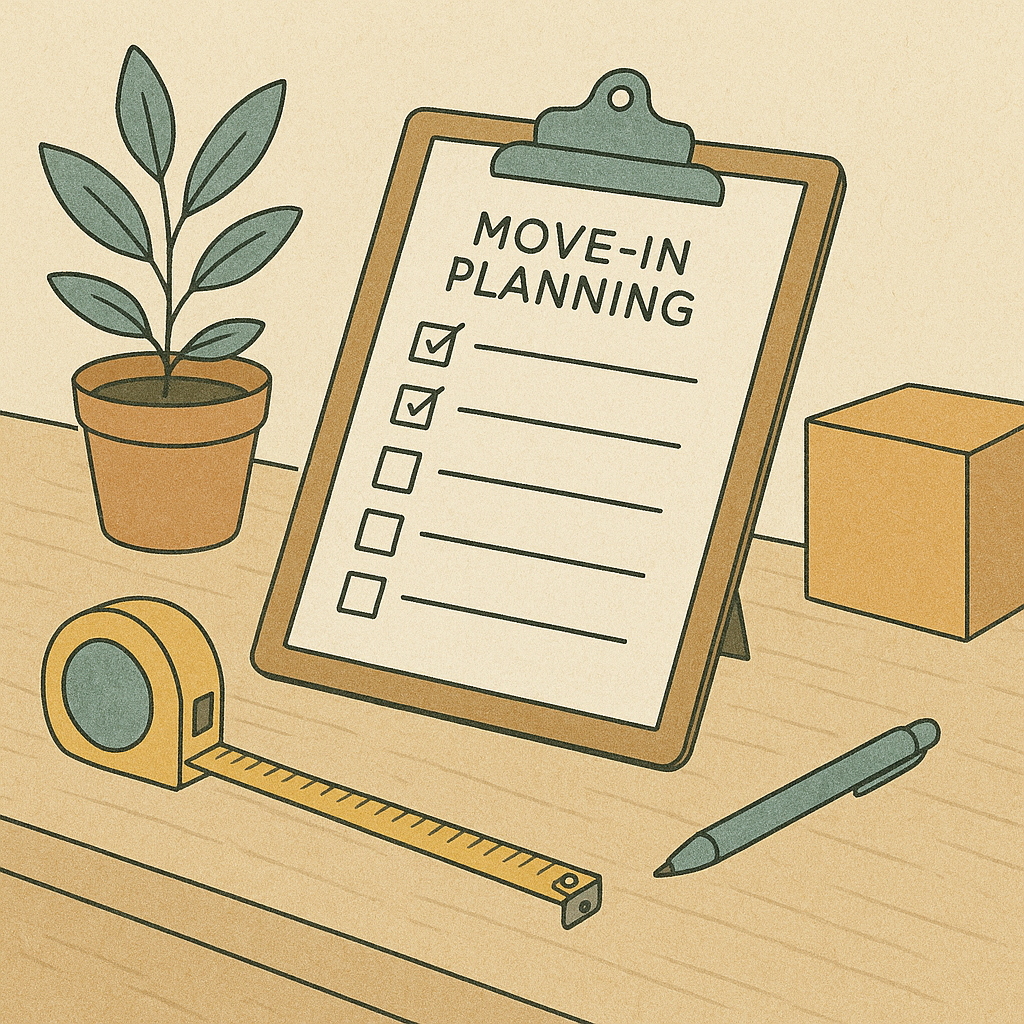
A practical checklist you can print
- Conduct a full optional hazard sweep: test alarms, inspect wiring, verify exits.
- Complete essential repairs with rough cost estimates and organize quotes.
- Deep clean and address any odors or moisture issues.
- Patch walls, fix floors where needed, and refresh paint in high-visibility areas.
- Verify plumbing and water heater operation; fix leaks.
- Inspect HVAC and change or verify filters.
- Ensure kitchen and bath fixtures are functional and safe.
- Gather and prepare move-in paperwork and lease skeleton.
- Prepare a simple move-in packet and tenant communication plan.
- Schedule a safety and maintenance calendar for the year.
- Gather safety equipment and install detectors where needed.
Handling expectations and avoiding buyer’s remorse
- Keep repairs proportionate to the rent level and market expectations. It’s easy to chase perfection, but practical limits protect your budget.
- Document everything: photos, receipts, and notes about what was fixed and when. This helps you stay organized if questions arise later.
- Be consistent in your approach to tenants. A steady, calm process reduces miscommunication and disagreement.
This is not legal or financial advice. Laws vary by location.
Helpful resources
- Smoke and Carbon Monoxide Alarm - smoke and CO safety devices for homes
- The Book on Managing Rental Properties - practical, broad guidance for owners
- Tenant Background Screening Service - basic screening option to consider
- Landlord Emergency Contact Poster - quick reference for emergencies
Landlord checklist bundle
Stop rebuilding your checklist for $5.
The bundle keeps turnover, move-in, maintenance, and move-out checklists in one printable place so you can stop improvising the same steps from memory. Instant access after checkout.
- Turnover prep checklist
- Move-in checklist
- Preventative maintenance checklist
- Move-out inspection checklist
One-time purchase. No subscription nonsense. Payments are currently in test mode.