How to tenant-proof a rental when remodeling: a practical, single-question guide
A practical, calm guide for small landlords on remodeling a rental in a way that minimizes tenant disruption and protects finishes for the long run.
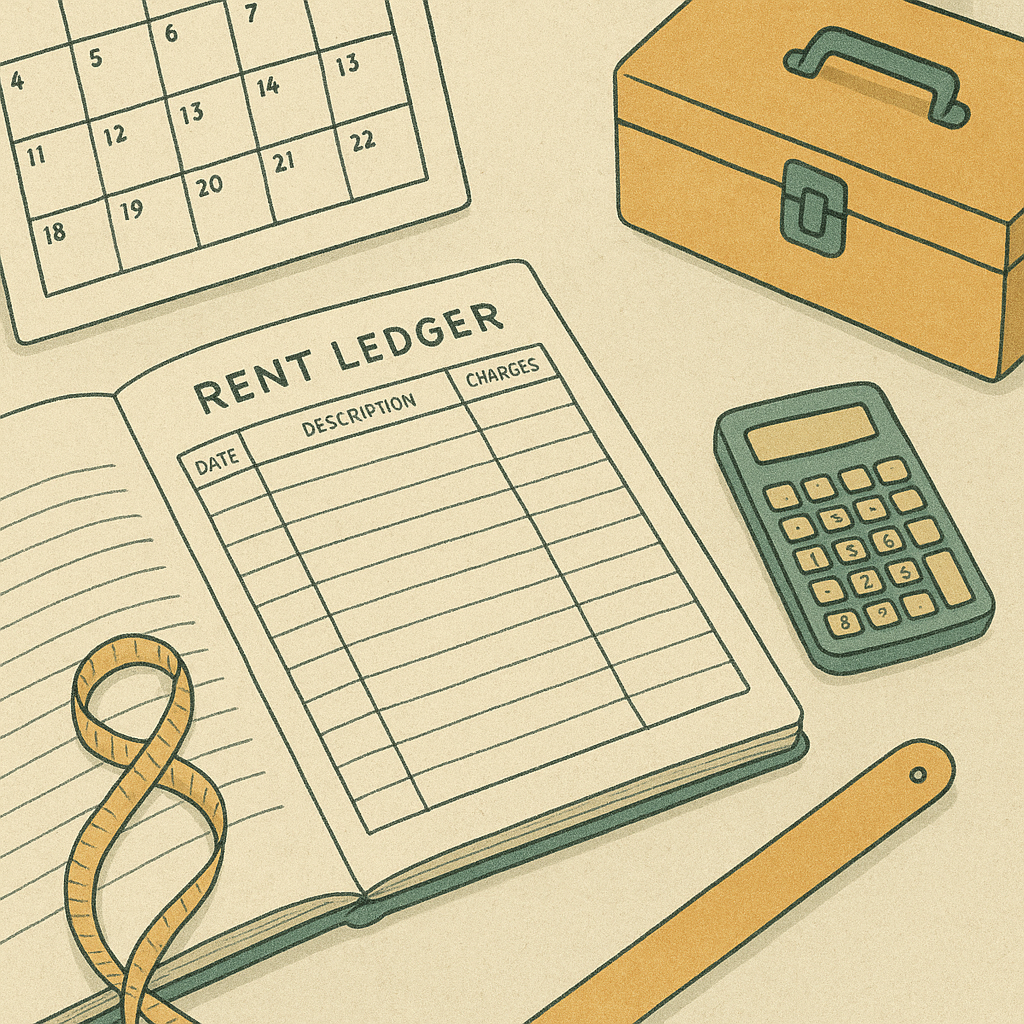
Question: How can I tenant-proof a rental when remodeling to reduce future wear, protect finishes, and keep tenants comfortable?
Remodeling can be a chance to improve a unit, but it also creates risk: ongoing access needs, potential damage, and the challenge of keeping tenants cooperative during construction. The goal here is to plan with tenant experience in mind while making durable, low-maintenance choices. The following approach focuses on practical choices, clear communication, and a simple process you can repeat for future projects.
What to plan before you start
- Define scope with durability in mind: choose materials that wear well in rentals (for example, scratch-resistant vinyl plank or ceramic tile in high-traffic areas) and finishes that are easy to clean. Avoid premium finishes that are fragile or hard to repair.
- Schedule with tenant comfort as a priority: set predictable work hours, provide a written schedule, and specify any restricted areas (for example, kitchens and bathrooms during certain phases).
- Communicate clearly and in writing: share a one-page remodel plan, expected duration, and how access will be managed. Confirm contact for questions or concerns.
- Consider temporary accommodations if needed: for major renovations, discuss options and timelines with tenants in advance so they can plan around the work.
What to choose during remodel to tenant-proof the space
- Prioritize durable materials in high-traffic zones: install water-resistant flooring in kitchens and baths; select underlayment that minimizes squeaks; use quartz or solid surface countertops that resist stains and scratches.
- Use good-quality, easy-to-clean finishes: washable paints or coatings on walls; sealed grout in tile installations; low-maintenance cabinet finishes.
- Protect vulnerable finishes during the project: install temporary floor protection, use drop cloths on painted surfaces, and mark high-traffic paths to reduce accidental damage.
- Plan for access and safety: child- and pet-friendly work zones, clear barriers or doors for restricted areas, and well-marked exits and temporary lighting as needed.
Managing the project with tenant needs in mind
- Create a simple, reusable remodeling timeline: a start date, a rough milestone chart, and a target completion window. Share it with tenants and update if changes occur.
- Build in maste rplan checks: after major phases (demolition, rough-ins, finish work), do a quick walk-through with the tenant to acknowledge any concerns and adjust expectations.
- Keep a single point of contact for tenants: designate a responsible project liaison (you or a trusted contractor) who answers questions within a defined response time.
- Respect quiet hours and access limitations: avoid work during early mornings or late evenings unless urgent, and provide reasonable notice before visits to common areas.
Protecting the investment after remodeling is complete
- Document the work: take photos of finishes, note model numbers, paint colors, and locations of durable materials. This helps with future maintenance and any potential disputes.
- Create a simple maintenance routine: a short checklist for tenants (how to wipe, what to monitor, when to report issues) so wear is spotted early.
- Consider a small, written adjustment for wear-and-tear expectations: a mutual understanding about normal life after remodeling helps prevent disputes if minor issues arise.
- Ensure warranties and receipts are accessible: keep a copy of warranty details for appliances, flooring, and fixtures in a common file the tenant can access if needed.
A practical, repeatable checklist
- Define durable material selections for high-traffic areas.
- Prepare a clear remodeling timeline and share it in writing.
- Set predictable work hours and a clear access plan.
- Install protective measures to prevent damage during construction.
- Establish a single point of contact for tenant questions.
- Conduct milestone walkthroughs with the tenant.
- Document finishes and keep warranties/receipts organized.
- Create a simple post-renovation maintenance routine for the tenant.
Disclaimer: This is not legal or financial advice. Laws vary by location.
Helpful resources
- Landlord Emergency Contact Poster - quick reference for emergencies on a property
- The Book on Managing Rental Properties - practical landlord guidance
- Lease Agreement Forms - standard templates for rental documents
Landlord checklist bundle
Stop rebuilding your checklist for $5.
The bundle keeps turnover, move-in, maintenance, and move-out checklists in one printable place so you can stop improvising the same steps from memory. Instant access after checkout.
- Turnover prep checklist
- Move-in checklist
- Preventative maintenance checklist
- Move-out inspection checklist
One-time purchase. No subscription nonsense. Payments are live.