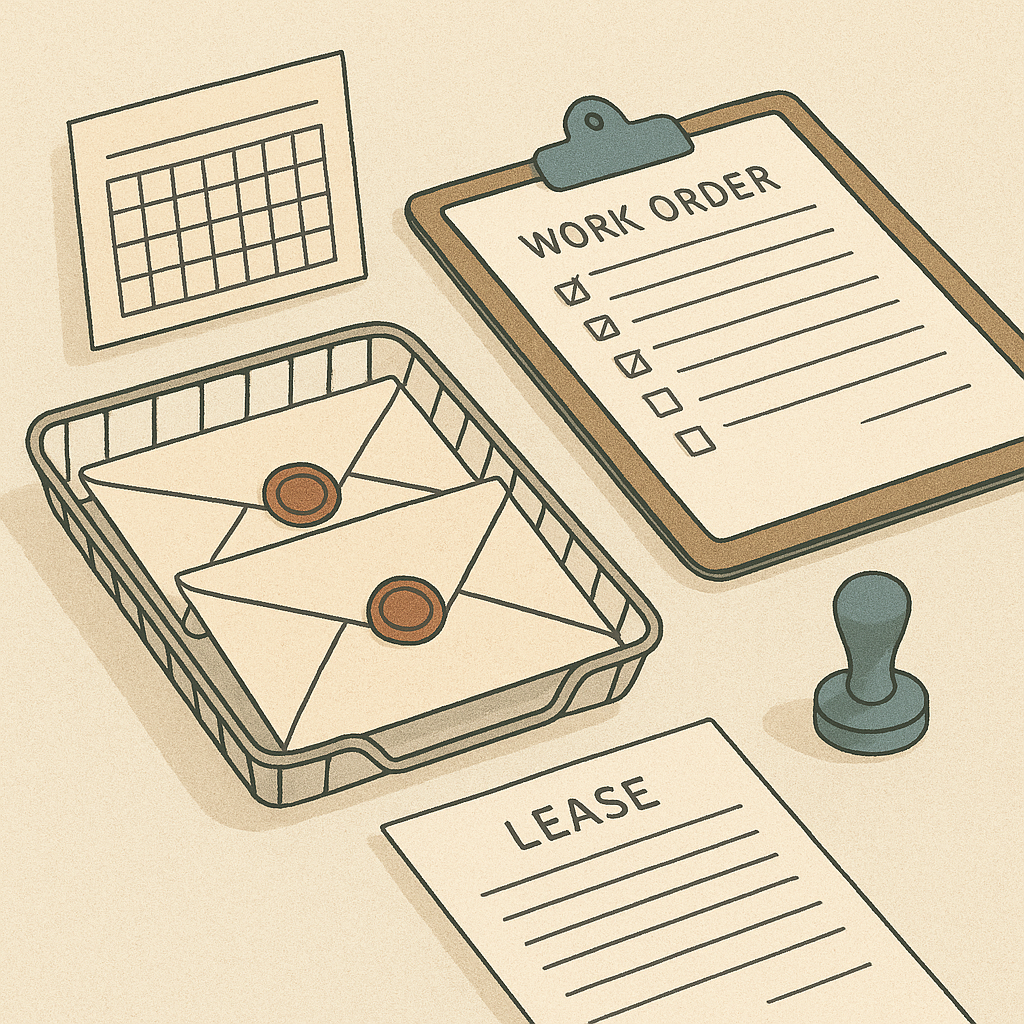
Security deposit best practices for small landlords
A practical, one-question guide to handling security deposits—from collection to return—emphasizing clear processes and documentation.
The one concrete question: How should I handle security deposits from move-in to move-out?
For small landlords, the core of security deposits is not flashy policies but reliable, repeatable steps. The goal is to protect your property, minimize disputes, and maintain a calm, predictable process for tenants. This article walks through a practical, do-this-next approach that centers on one practical question: how to manage the security deposit from day one through the end of tenancy.
1) Set a clear framework before you collect any deposit
- Decide on the amount and what it covers. Most landlords use one month’s rent as a baseline, but be explicit about what the deposit covers (dents in walls, excessive cleaning, unpaid rent, damages beyond normal wear and tear).
- Use a simple, written receipt. Give the tenant a copy of the deposit receipt that states: amount, date collected, and your intended use of the funds.
- Open a dedicated account for security deposits if possible, or keep meticulous records in a ledger. Separate handling reduces confusion if you ever need to reference funds.
- Note who holds the deposit and for how long. If you are in a jurisdiction that requires holding in a separate account or with a state repository, document the process clearly, even if you don’t provide legal advice.
2) Document the property’s condition at move-in
- Take dated photos and video of every room, all appliances, fixtures, and exterior features. A quick 360-degree sweep of each major space helps.
- Create a simple move-in checklist that you and the tenant sign. This should describe the condition and note any pre-existing issues. The goal is to have a baseline you can compare against when the tenant moves out.
- Have the tenant acknowledge receipt of the condition report. Acknowledge does not require perfection; it should reflect what is actually there at the start of the tenancy.
- Store the documentation securely so you can access it at move-out if needed.
3) During tenancy: keep records tidy and communications clear
- Communicate clearly about any charges you intend to claim against the deposit. If a problem arises, note it promptly with dates, costs (estimates if actuals aren’t available yet), and alternatives when possible (like repair-by-tenant, if allowed).
- If rent is late or the tenant leaves early, document related financial implications in writing and reference how the deposit would be affected.
- If you offer convenience or in-kind repair options (e.g., tenant handles painting), document the agreement in writing to avoid later confusion about costs.
4) At move-out: standardize the exit process
- Schedule a move-out walk-through with the tenant. Do the inspection together when possible, so you can discuss findings in real time.
- Use a standardized checklist for the exit, mirroring the move-in checklist. Compare condition notes to the move-in baseline.
- Take fresh photos or video after the tenant has left but before you begin repairs. This provides a record of the property’s condition post-occupancy.
- Itemize deductions carefully. Separate cleaning from repairs and pre-existing issues. If something seems ordinary wear and tear, consider not charging, or charge only for the portion beyond normal use.
- Share an itemized list of deductions with receipts or estimates. If you withhold any portion of the deposit, explain why, provide copies of invoices, and explain how the remaining balance was calculated.
5) Returning the deposit: timelines and best practices
- Return the balance promptly. If your state or local rules set a deadline, use it. If not, a practical standard is within 14–30 days, but do not stretch beyond what is reasonable for your location.
- Include any non-returned portion with a written explanation and, if possible, receipts or estimates for each deduction.
- If you rent in a jurisdiction that requires interest on deposits, calculate and communicate the interest payment per the applicable rules, but do not treat interest as a revenue source.
- Consider providing a final summary of the tenancy, including the disposition of the deposit, and a short note thanking the tenant for their tenancy. A calm, professional tone helps with potential disputes.
6) Common pitfalls to avoid
- Failing to document the move-in condition can make it hard to justify deductions at move-out.
- Not following a consistent process across tenants creates confusion and potential disputes.
- Withholding the deposit for routine cleaning that falls under reasonable wear and tear can lead to disagreements.
- Mixing security deposits with your operating funds creates accounting and trust issues.
- Not keeping records or failing to respond promptly to questions or disputes can escalate issues unnecessarily.
A practical checklist you can use
- Before collecting the deposit:
- Decide deposit amount and what it covers
- Create a simple deposit receipt
- Open a dedicated record for the deposit
- Move-in documentation:
- Take dated photos/videos of all spaces
- Complete and sign a move-in condition checklist
- Store documents securely
- During tenancy:
- Maintain clear, written communications about any potential deductions
- Track any damages or issues with dates and costs
- Document repair options and decisions in writing
- Move-out process:
- Schedule a move-out walk-through with the tenant
- Compare against the move-in baseline
- Take post-occupancy photos/videos
- Prepare an itemized deduction list with receipts or estimates
- Return of deposit:
- Calculate final balance due and send a written statement
- Include a copy of receipts/estimates for deductions
- Return the remainder within a reasonable timeframe
- Note any interest paid if required locally
- Post-tenancy:
- File records and keep for potential future reference
- Use lessons learned to refine your checklist for the next tenancy
Why this approach helps
- It creates transparency: the tenant sees what the deposit covers and how deductions are calculated.
- It reduces disputes: a clear baseline and documented communications make disagreements less likely to escalate.
- It protects your property: thoughtful, consistent steps help you recover costs that are legitimately your responsibility.
- It’s scalable: a simple, repeatable process works whether you manage one unit or a handful.
This practical approach is not about clever tricks or fast timelines; it’s about building a reliable rhythm that helps you avoid confusion, protect your property, and maintain a calm tenancy experience for both sides.
Helpful resources
- Security Deposit Checklist - a structured checklist for deposit documentation
- Lease Agreement Forms - Standardized documents for tenancy setups.
- Security Deposit Log Book - Clear record-keeping for deposits.
- Landlord Legal Forms (No-Nonsense Legal Forms) - Practical forms for landlord operations.
This is not legal or financial advice. Laws vary by location.
Move-out shortcut
Handle move-out with less guesswork for $5.
It gives you a printable inspection flow so condition notes, deposits, and follow-up work stay documented before the argument starts. Instant access after checkout.
- Turnover prep checklist
- Move-in checklist
- Preventative maintenance checklist
- Move-out inspection checklist
- 48 practical checks across the tenant cycle
- PDF, browser version, and plain-text copy
- Instant access after checkout
One-time purchase. No subscription nonsense. Payments are live.