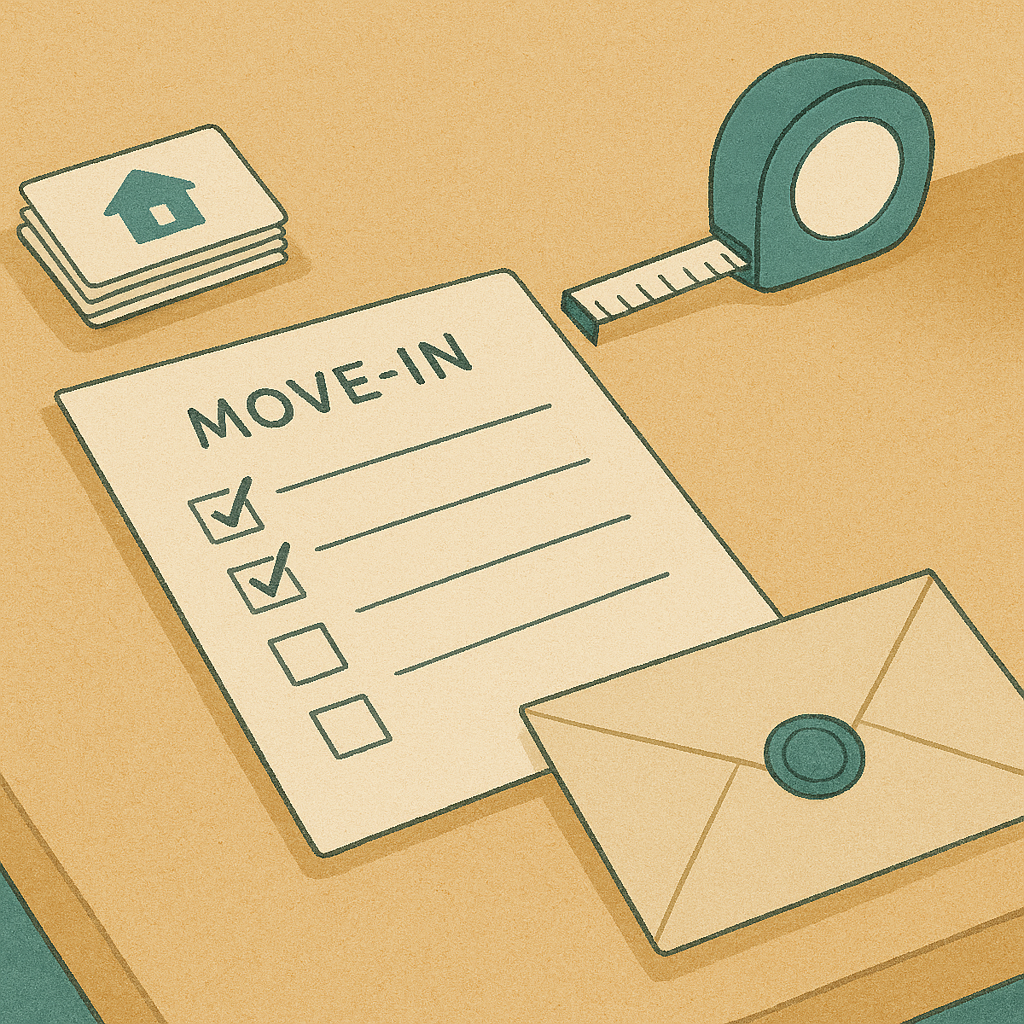
A practical pre-move-in checklist for rental properties
One concrete, repeatable process to prepare a rental unit for new tenants, with a step-by-step checklist and practical tips you can reuse.
When a unit has just turned over, the question isn’t whether to tidy up — it’s how to do it in a way that protects your property, meets basic tenant expectations, and doesn’t waste your time. This article focuses on a single, concrete landlord question: what is the essential pre-move-in checklist you can follow to get a rental ready for new tenants? The goal is to establish a reliable routine you can repeat with minimal drama, so you don’t end up scrambling or overlooking simple but important tasks.
The core idea is simple: prepare the space to a standard that you would be comfortable renting to a long-term tenant, and document what you did. A consistent routine reduces debates after move-in, decreases disputes over condition, and helps you set a fair baseline for the security deposit. You don’t need to reinvent the wheel every turn — you need a repeatable workflow.
Below is a practical, no-nonsense checklist you can adapt to most units. It’s written to be doable by a single landlord or a small team, with a focus on tangible tasks rather than sweeping promises.
1) Clarify the unit’s condition and expectations
- Review the move-out inspection notes, if any, and flag items that should be addressed before new tenants arrive.
- Decide the standard you’ll use for wear and tear versus damage (for example, paint scuffs are wear; large stains may be damage).
- Draft a brief, 1-page pre-move-in checklist to include in a welcome packet. It should cover basic expectations (no smoking, quiet hours, waste disposal) and how to report issues.
Rationalizing the baseline upfront helps you stay consistent. It also gives you a defensible reference point if questions come up later about the unit’s condition at turnover.
2) Clean thoroughly and sanitize high-touch areas
- Deep clean the entire unit, including kitchen appliances, bathroom fixtures, and floors.
- Sanitize high-touch surfaces (doorknobs, light switches, handles, and thermostats).
- Ensure all vents and the HVAC system are reasonably clean and unobstructed.
A thorough cleaning makes a strong first impression and lowers the chance of tenant complaints early in the tenancy. It’s easier to clean once while the unit is vacant than to chase grime after a tenant moves in.
3) Inspect and repair critical systems
- Run through the plumbing, electrical, and heating/cooling basics. Look for leaks, clogged drains, tripping breakers, or odd noises.
- Check the water heater for proper operation and hot water availability.
- Verify that smoke detectors and carbon monoxide alarms are present and functional with working batteries.
- If you have appliances included with the rental, test each one (stove, refrigerator, dishwasher, washer/dryer) to confirm operation.
Addressing these items upfront reduces the risk of emergency work shortly after the new tenants move in. It also helps prevent a flood of small calls that can become costly if delayed.
4) Make repairs and complete touch-ups
- Fix obvious issues such as wall cracks, chipped paint, nail holes, or damaged trim.
- Patch and repaint only where needed to maintain a cohesive look without overdoing it.
- Replace exhausted seals on windows, weatherstripping, or door sweeps that affect energy efficiency.
A fresh-but-practical refresh can dramatically improve perceived value without turning the property into a full remodel. Keep a record of what you touched and what products you used.
5) Update key safety and compliance items (within reasonable scope)
- Check that exit routes are clear and lighting in hallways or entryways is adequate.
- Ensure outdoor lighting works and that stairs/landings are stable and free of hazards.
- Post or provide basic fire safety information, including where extinguishers are located if you have them.
This isn’t legal advice, but safety-minded adjustments are a good habit. They protect you, your property, and the tenant’s wellbeing.
6) Review and refresh utilities and amenities
- Confirm that utilities are connected and billed appropriately (water, gas, electricity) where the tenant will be responsible for them.
- Ensure any included amenities (parking, laundry, outdoor storage) are clearly available and functional.
- If you rent furnished or semi-furnished, verify that all listed items are present and in good condition.
Clear communication on what’s included in the rent avoids disputes and aligns expectations from day one.
7) Prepare the entry and documentation for move-in
- Create a welcome packet with essential information: how to operate appliances, garbage collection schedule, contact info for maintenance, and emergency procedures.
- Prepare key handover: ensure you have all copies of the lease, a signed pre-move-in checklist, and the security deposit receipt ready.
- Take fresh photos of the unit after the final prep work. Having a photo record helps if questions arise about condition later.
Documentation is the quiet backbone of a smooth tenancy. Well-recorded checks and photos save time and reduce friction when issues surface later.
8) Final walk-through and sign-off
- Do a quick final run-through to catch anything missed during the busy turnover phase.
- Have the new tenant present if possible, or provide a simple checklist for self-sign-off and a return of keys.
- Confirm the move-in date and what happens if anything doesn’t work as expected on day one.
A short, shared walk-through with the tenant can prevent confusion and establish a productive dynamic from the start. If you can’t be there in person, a reliable photo-and-note system is the next best thing.
A simple, repeatable rhythm you can rely on
- Create a standard pre-move-in checklist document that reflects these items.
- Keep a spare set of commonly used supplies (lightbulbs, batteries, basic tools) to avoid quick runs to the hardware store.
- Leave a short notes section in the tenant packet for issues discovered during the move-in that aren’t urgent but should be tracked.
- Schedule a post-move-in follow-up check after 2–4 weeks to catch any issues that weren’t apparent at handover.
This approach isn’t glamorous, but it gives you a reliable, repeatable workflow. It helps you protect the property, set reasonable expectations, and handle issues before they escalate. The key is to treat the turnover as a distinct phase with a concrete end point: the moment you hand over the keys with a unit that is clean, safe, and functioning as expected.
This is not legal or financial advice. Laws vary by location.
Helpful resources
- The Book on Managing Rental Properties - practical landlord guidance for daily operations.
- Lease Agreement Forms - templates for standard leases and addenda.
- The Essential Landlord Checklist Bundle - tools to document unit condition.
- Tenant Background Screening Service - options to support tenant screening.
Move-in shortcut
Make move-in week cleaner for $5.
Grab the printable move-in and turnover checklists if you want one clean handoff instead of a pile of forgotten steps and follow-up texts. Instant access after checkout.
- Turnover prep checklist
- Move-in checklist
- Preventative maintenance checklist
- Move-out inspection checklist
- 48 practical checks across the tenant cycle
- PDF, browser version, and plain-text copy
- Instant access after checkout
One-time purchase. No subscription nonsense. Payments are live.